

Introduction
In this in-depth article, we delve into the intricacies of using the latest Midjourney feature: The Style Tuner.
After you complete this tutorial, you will master everything related to style tuner including creating and refining your Unique Style templates on MidJourney.
Are you ready? Let's go!
What's the style tuner?
The Midjourney Style Tuner empowers users to craft unique style templates, opening up a realm of creative possibilities for generating stunning images quickly and consistently.
It allows you to create a style template that you can train to reach your unique aesthetic taste and incorporate it as a parameter to any of your future prompts.
It will also allow you to shorten the prompt length.
But now, you may think: Great! how do I create my unique style? Well, that's the interesting part and what we'll cover next.
Step 1: Create the foundation of your first style
If you're a Midjourney user, you know how the /imagine command works.
Well, to create your first tune style, you'll use a similar command.
In Discord, you type /tune, then you type the prompt you want to create.
The prompt is essential because we're going to train our own style based on several images created from this prompt. It's the foundation of our style. So you don't want to miss it.
To illustrate this tutorial, we'll tune a cinematic template.
Here is the prompt I'll go for:
A photograph capturing a black soldier woman climbing a building, in a cyberpunk city world, neon lights, a slight haze in the air, you know something is about to happen, cinematic, Hollywood movie, photo-realistic, cinematic color grading,realistic skin, dramatic, mysterious, captured by Sony cineAlta camera –ar 16:9
Step 2: Tune your style
Now, we have to refine our style. We'll use the style tuner to do that.
We have a page with the 32 comparisons ready. We'll pick
The process is illustrated in the video below.
As you can see in the video, it's really easy. You have to choose between 2 grids for each of them, and you pick the one that is closer to what you have in mind.
Sometimes, I'm not selecting any for some of them. Because both are a miss. It's ok. You don't have to make a choice for all of them. But be aware: the more you pick, the more precise your style will be.
Step 3: Create infinite pictures using your style, and generate consistent art
The hardest part of the job is done. Now is where you can create new stuff in a breeze. We're going to create infinite pictures using our style.
So, it's very easy. At the bottom of the page, you'll find this box.

You need to copy the prompt, go to Discord, and use it.
if you want to change
Here is the kind of difference you can get.
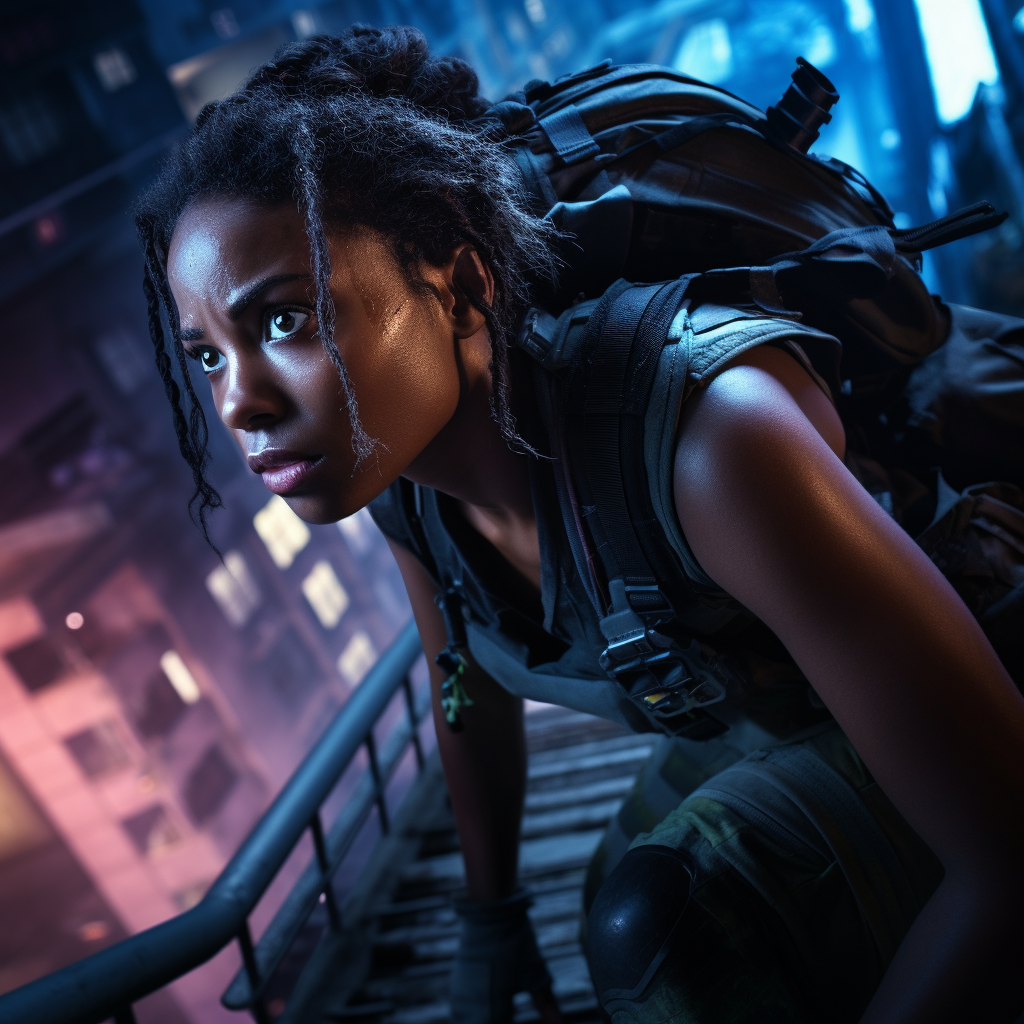
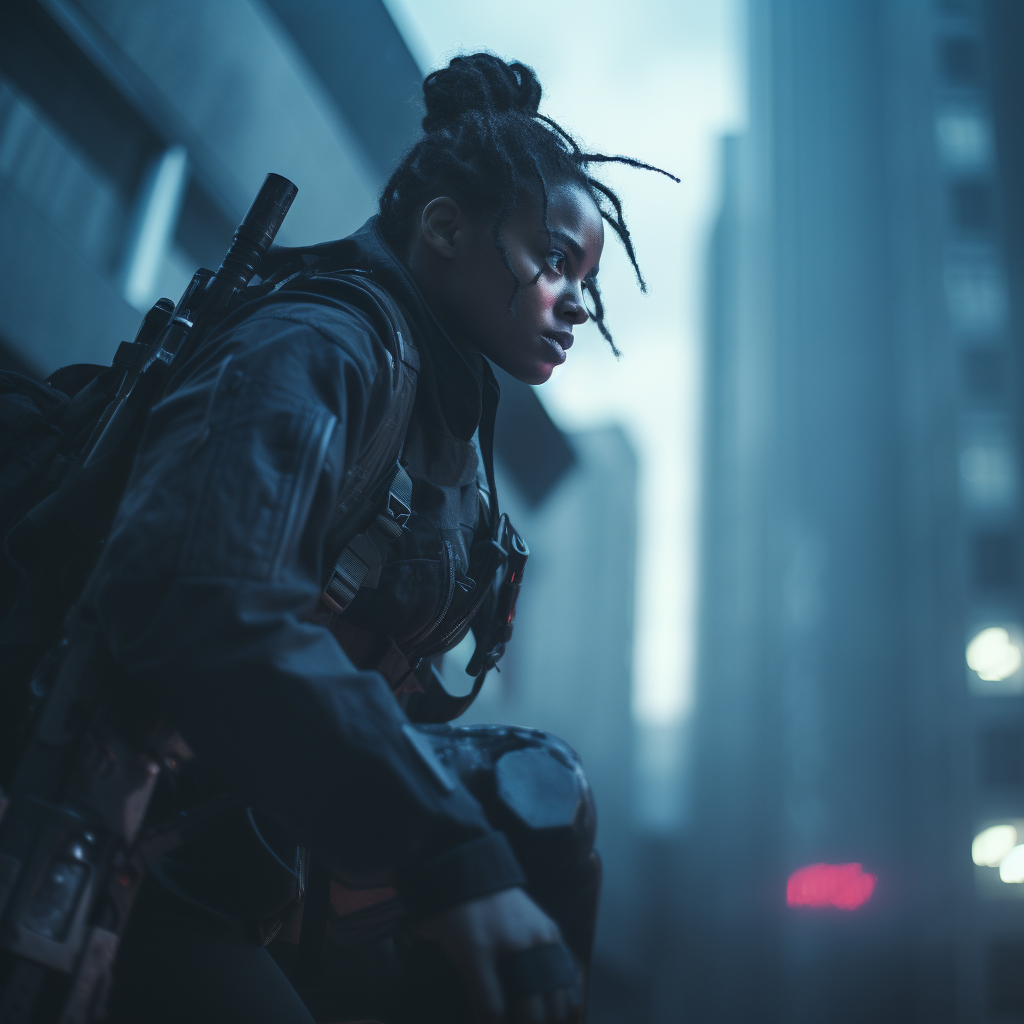
The prompts I used are the exact same.
We can see using my style code, the image get this cinematic style I love.
Here is another example.
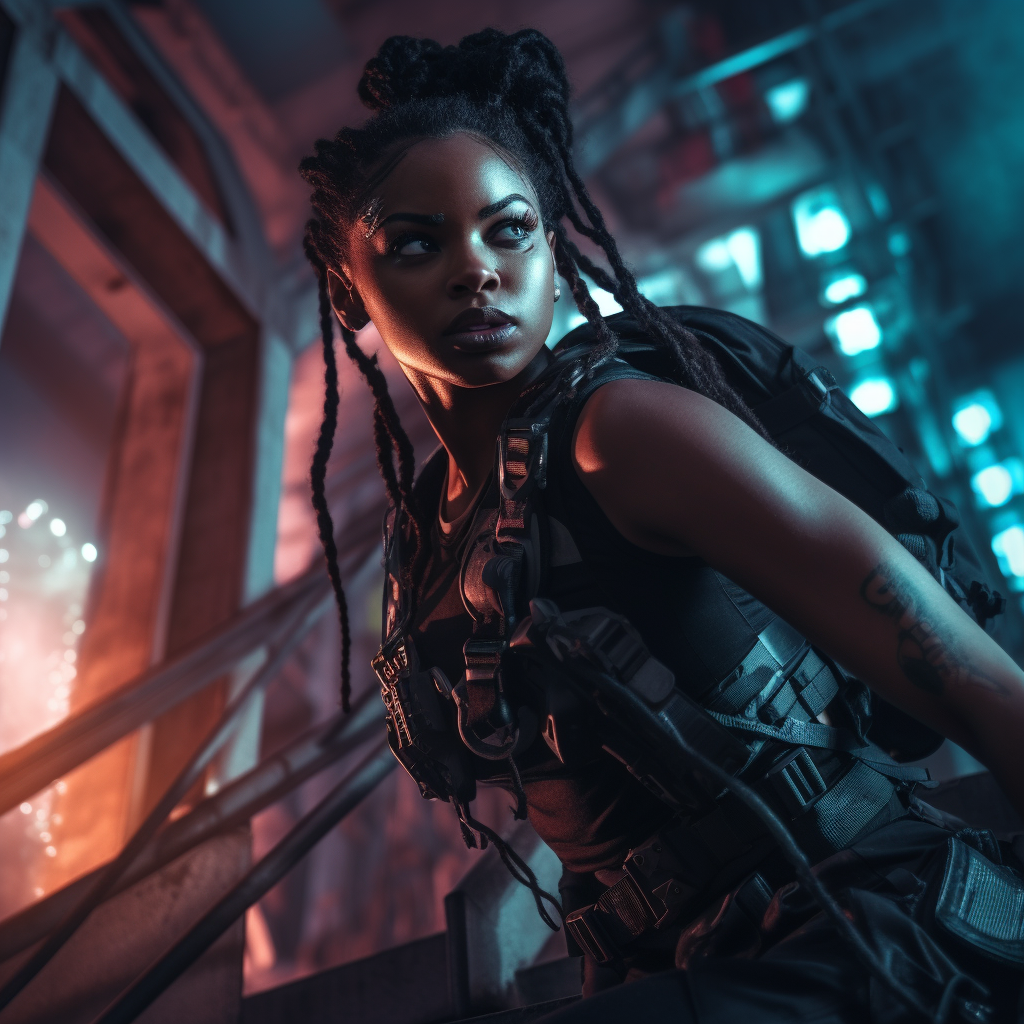

I think the difference is pretty obvious at this point.
Now, the magic of it is that you can do if for everything. Here I created a picture of an old man walking in a post apocalyptic world.


Do you like it?
Do not forget!
Store you style code & detailed prompt somewhere safe. Because if you close this page, you will lose your work. If you only save the url and go back to the page, you'll have to start from scratch.